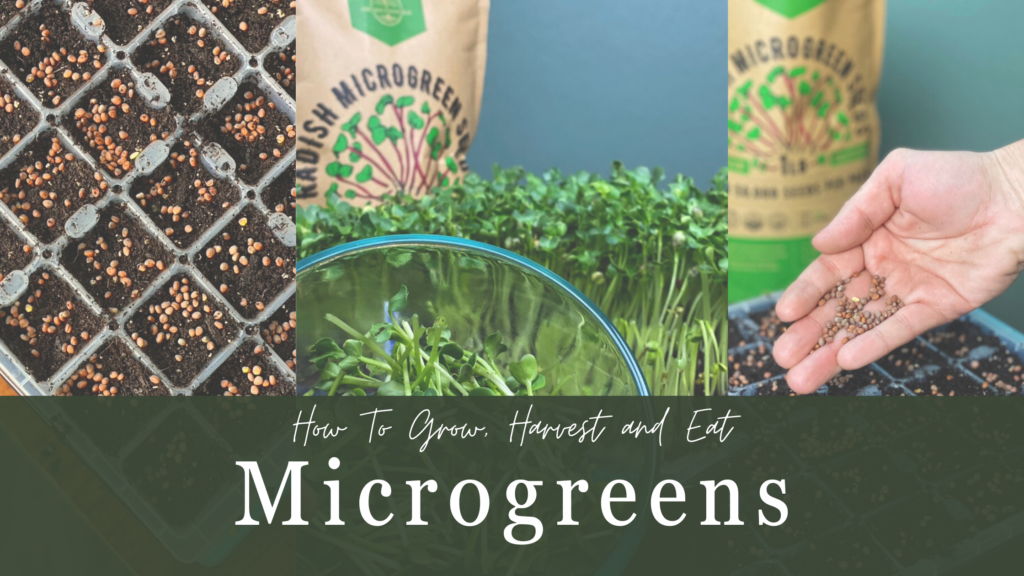
Growing microgreens is easy to do and a great way to pack a nutritional punch into any meal. The high amount of minerals, vitamins and antioxidants in these baby greens is one of many reasons you should learn to grow microgreens. Plus – they’re incredibly easy to grow!
This post may contain affiliate links. Please read our full disclosure policy here.
What Are Microgreen Seeds?
Microgreens are the young seedlings of edible vegetables like radishes, broccoli, swiss chard and red amaranth to name a few. These little greens are smaller than their mature counterparts and known for their intense flavor, lively color and tender texture.
Microgreens have a short germination timeline and are uniquely harvested between 7 and 21 days of their quick growth cycle.
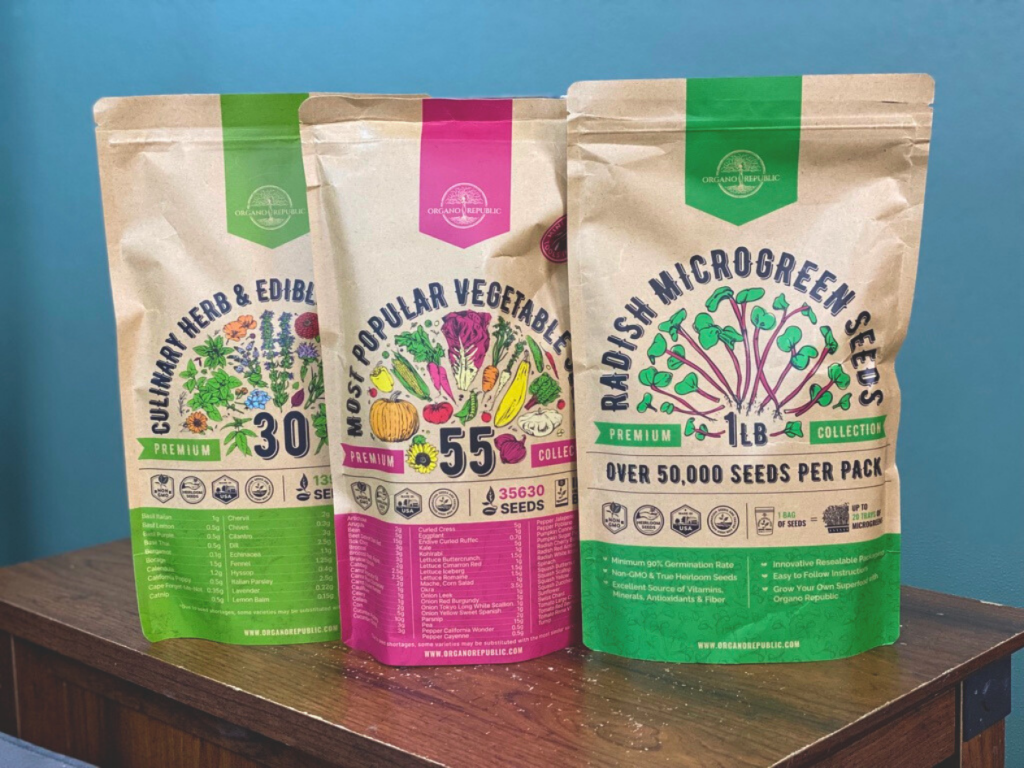
It’s not uncommon to find microgreen varieties being sold by large name seed companies like Organo Republic, True Lead Market and Johnny’s Selected Seeds. Microgreen seeds are often sold by the thousands, as opposed to a seed packet of greens intended to grow to their full-grown counterparts. That of which are often sold with less than 1000 seeds (if you’re lucky!).
Do Grocery Stores Sell Microgreens?
The best microgreens are going to be the ones grown in your own kitchen window. While some grocery stores sell these baby greens, I wouldn’t recommend sourcing them from a grocery store regularly.
Why? Let me explain.
Growing microgreens yourself is low cost and doesn’t require much of a green thumb for great success. Who knew you could create a high-end restaurant experience right from your own kitchen table?!
Grocery store microgreens are going to lack in nutritional value. The moment the baby greens are removed from their growing environment their nutritional punch begins to lessen. Even then, finding a grocery store that sells decent microgreens will be difficult.
If you want to buy already grown microgreens, check grocery stores like Whole Foods Market, Publix or Costco. The more organic-available produce in the grocery store, the higher the chance you’ll find microgreens.
Personally, I say skip the grocery store and learn to grow microgreens from your own kitchen.
Different Microgreen Varietities
There is a wide variety of microgreens, which might surprise you! If you’re new to the microgreen world, you might have just assumed the term “microgreen” referred to some magical, nutrient dense plant. And they are nutrient dense, which feels magical for such a tiny green plant!
Microgreens come in all shapes, sizes, colors and flavors! Making them incredibly delightful and fun to grow.
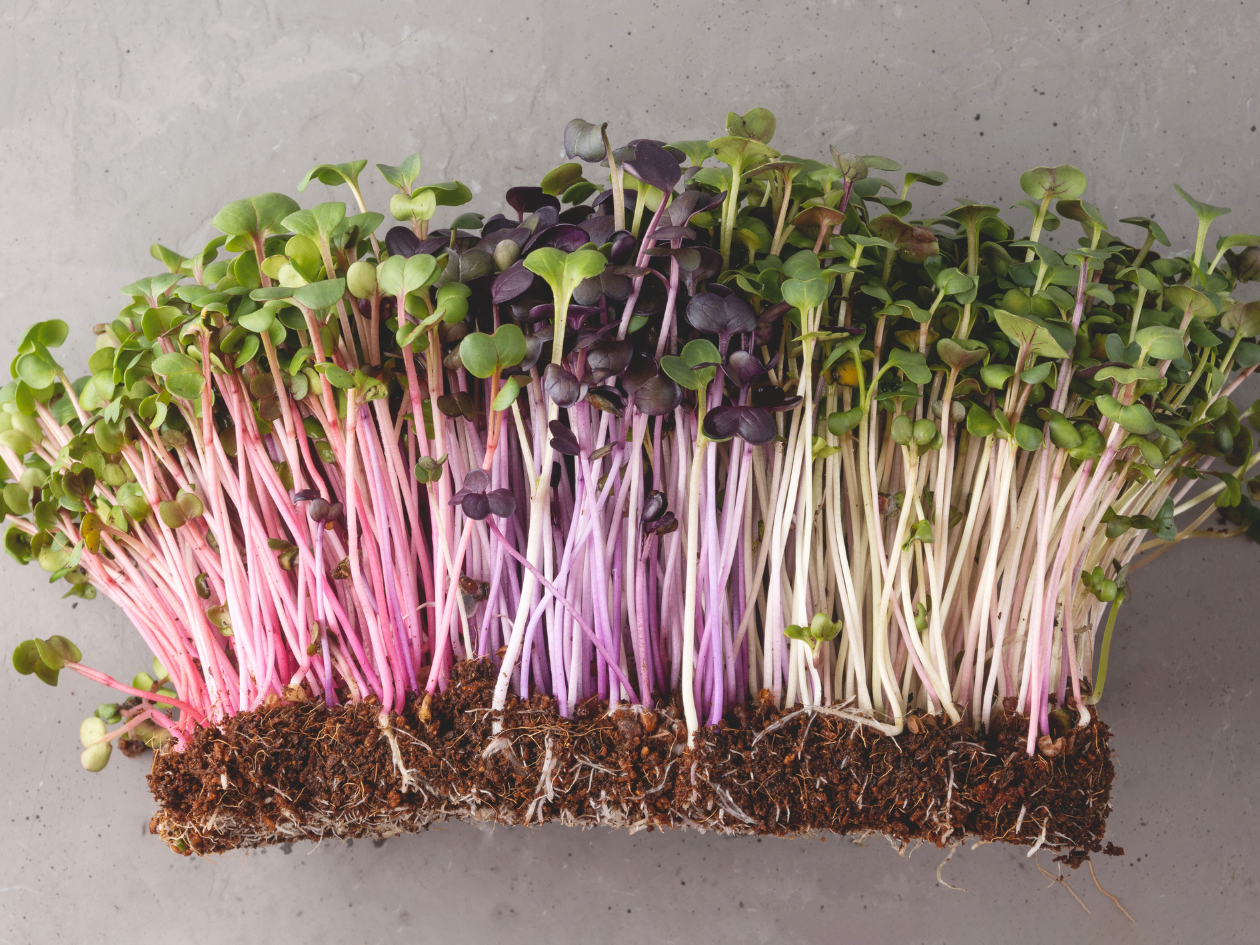
For example, radish and arugula microgreens have a spicier flavor than broccoli or beet microgreens. Basically, each microgreen seedling carries an intensified flavor of the mature counterpart of your seeds.
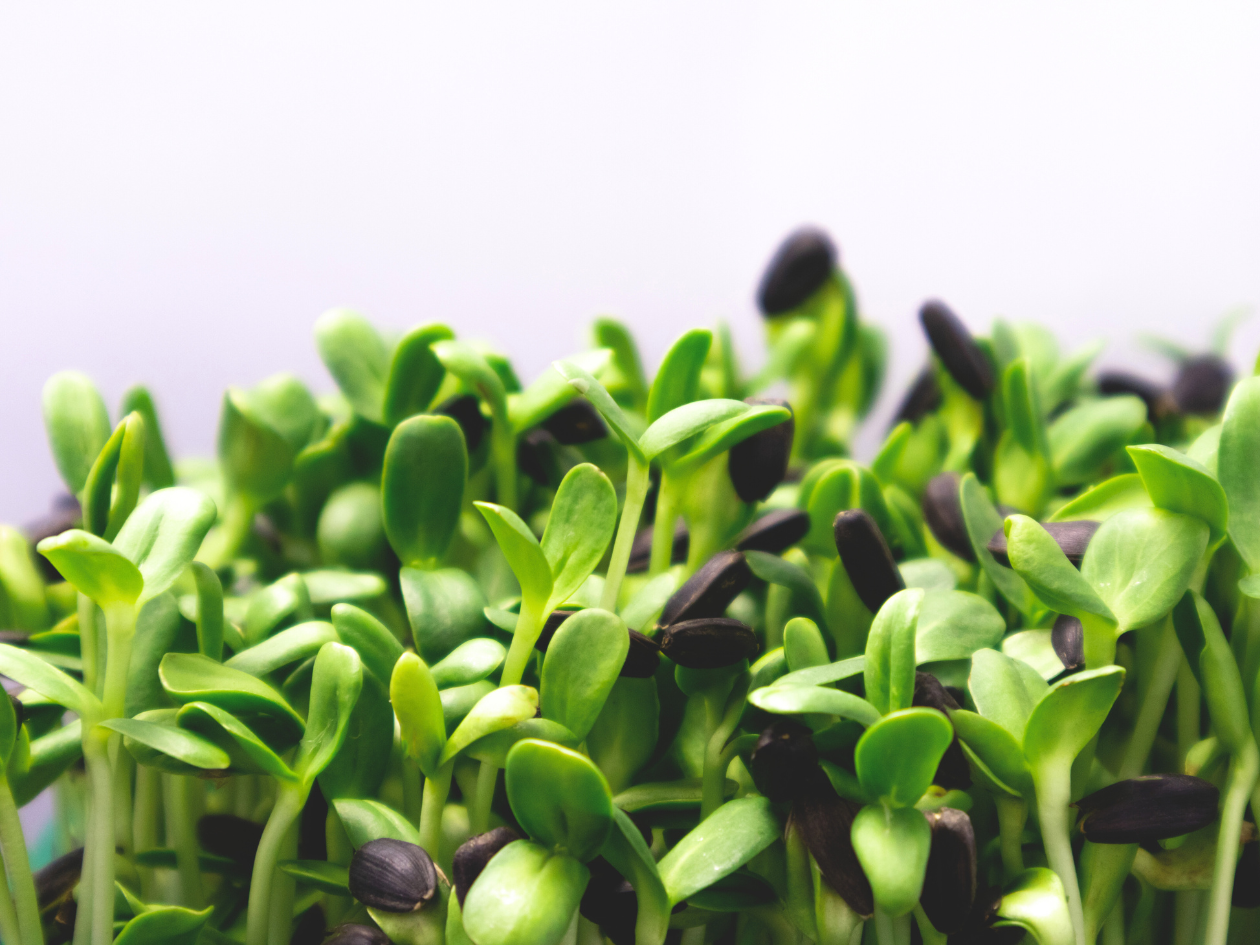
Other common microgreen species include sunflowers, lemon balm, fenugreek, pea shoots and red cabbage.
Can All Seeds Be Used As Microgreens?
No, not all plants can be used as microgreens. Plants that contain alkaloids have the potential of being toxic to humans. These plants include potatoes, peppers, eggplants and tomatoes.
If it’s easier to remember, plants of the nightshade family are what you want to avoid for microgreens.
Nutritional Value of Microgreen Seeds
Microgreens are packed with nutrients. They’re full of zinc, potassium, iron, magnesium and copper. Microgreens are a great source of bioactive compounds thanks to its rich amount of antioxidants.
The intensified profile of a microgreen makes the nutrients, like the antioxidants for example, more concentrated. Some studies have shown these levels of nutrients in microgreens to be nine times higher than their mature counterparts!
It’s important to note that not all microgreens have the same nutritional profile. For example, microgreens like red amaranth and beets (photographed above) get their deep reddish/purple color from antioxidants like anthocyanins, carotenoids and other flavonoids.
These antioxidants are pigments in the plant that have the ability to neutralize free radicals and protect against oxidative stress in the body. The fact that tiny greens can have such a powerful impact on our bodies is beyond me.
Health Benefits of Growing Microgreens
Can you believe that you can grow something with such a dense nutritional profile right from your own kitchen?
The nutrients in microgreens vary based off of the microgreen variety, water source and sun light exposure.
The bioactive ingredients in microgreens are linked to numerous health benefits that protect cells from damage and play a significant role in protecting against the onset of chronic diseases and conditions. They also have the ability to support the immune system, supporting mental health and cognition.
You might be wondering, how do these antioxidants have the ability to aid in human health as much as they do?
Three Powerful Components of Antioxidants
1. Anthocyanins
Anthocyanins are a water-soluble flavonoid found in a large amount of fruits, vegetables and herbs. Simply put, foods with dark colors (like red, purple, black, deep blues, etc.) contain anthocyanins.
These process of metabolizing anthocyanins actually increases its bioavailability within your gastrointestinal tract. Which is a large part of why these power house flavonoids are so desirable!
Anthocyanin health benefits are frequently described effective. Studies confirmed that they achieve such an impact on our health by reducing oxidative stress, inflammation and degeneration.
Recent studies, such as this one, have also shown that the intake of anthocyanins can:
- Improve verbal fluency
- Improve short and long term memory
- Promote a decrease in systolic blood pressure
- Improve cognitive function in adults with early memory decline
- Enhance neural response during working memory
- Improve working/attention memory performance
- Improve brain perfusion
- Improve cognitive function and performance
- Improve neuroprotection
If you’ve read this far, are you motivated to grow microgreens yet? Haha! All of what you just read can be available to you in just 7 days!
2. Carotenoids
A carotenoid is a bioactive, fat-soluble compound found in antioxidants. It is incredibly effective in aiding against degenerative diseases such as cancer, according to this recent study.
Carotenoids protect against oxidative stress, neutralizing singlet oxygen which impact the nervous system by impairing neural function, causing inflammation and cell death.
Anthocyanins play a role in neutralizing free-radicals (health-damaging atoms), and carotenoids play a role in neutralizing a similar threat: the excited state of O2.
The excited state of O2 has been linked to cause oxidative damage, cancer, eye and skin damage, poor immunity, and early aging.
Consuming antioxidants like carotenoids is crucial for our health! Convinced yet?
3. Flavonoids
Flavonoids are a phenolic substance that contains over 8,000 individual compounds. Simply put, flavonoids are leading the way in the world of antioxidants.
Research has revealed properties of flavonoids as antimicrobial, antiallergenic, antiviral, and antiinflammatory. Similar to anthocyanins, they work to neutralize the free radicals in the human body.
The Use of Microgreens in Health
Consuming microgreens is being intentional about consuming foods that have disease-preventing properties. It’s not just about learning to grow something green from your own kitchen window on a dreary, cold winter day.
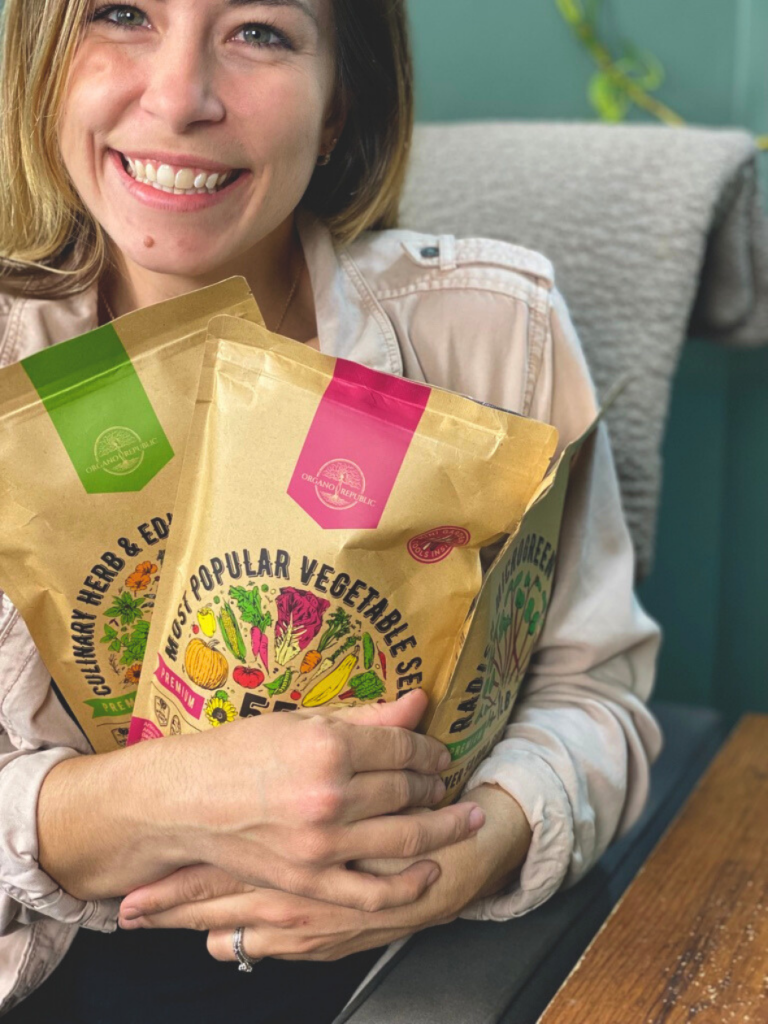
It’s about growing food that improves your health and lessons the potential of damage from the world around you (toxins, pollutants, pesticides, etc.).
A study published by PubMed Central revealed that Brassica species microgreens are considered a good source for polyphenols (anthocyanins and flavonoids). Perhaps consider one of these microgreens with your next seed purchase!
How To Grow Microgreens
Microgreens are incredibly easy to grow. Not to mention, they can be grown in less than seven days!
Requiring very little in supplies, I would bet you have everything you need (other than the seeds) right at home. If you plan to grow them more continuously for efficient production, you might benefit from purchasing some seeds trays and other supplies.
You can find the tools I recommend for beginner microgreen growers on Amazon here.

What Supplies Do I Need To Grow Microgreens?
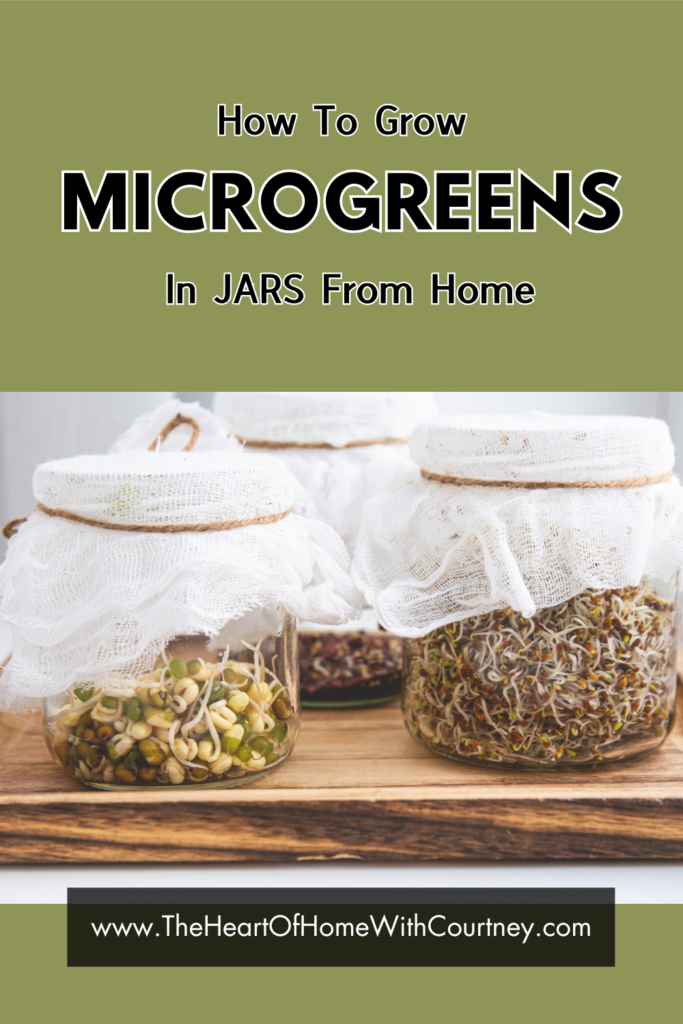
Growing microgreens is as easy as adding some seeds and water into a glass jar, or simply adding them to a shallow tray with soil. Yup, that easy!
These are the two most common ways to grow microgreens. I have included the necessary supplies for both methods in my Amazon Storefront here.
Just like any seed, microgreen seeds will need an environment that is moist, but not too wet. They will need airflow and access to light, depending on how developed you want the microgreen to be.
Not the mention, the more light seeds like beets and red amaranth get, the more developed the anthocyanins and other nutrients will be. That is because the plant triggers a stress signal when receiving UV light, increasing the flavonoids and phenolic acids, which our health benefits from.
That being said, it’s important to note: if you’re growing your microgreens with the help of natural sunlight through a window, be sure it is a window without UV light protection.
Modern windows frequently have barriers within them that protect our skin of UV light exposure. However, this isn’t beneficial to plants that may be growing in a window.
Materials Needed To Grow Microgreens IN A JAR
The biggest trick to growing microgreens in a glass jar is being sure you have enough air flow; meaning, your lid matters!
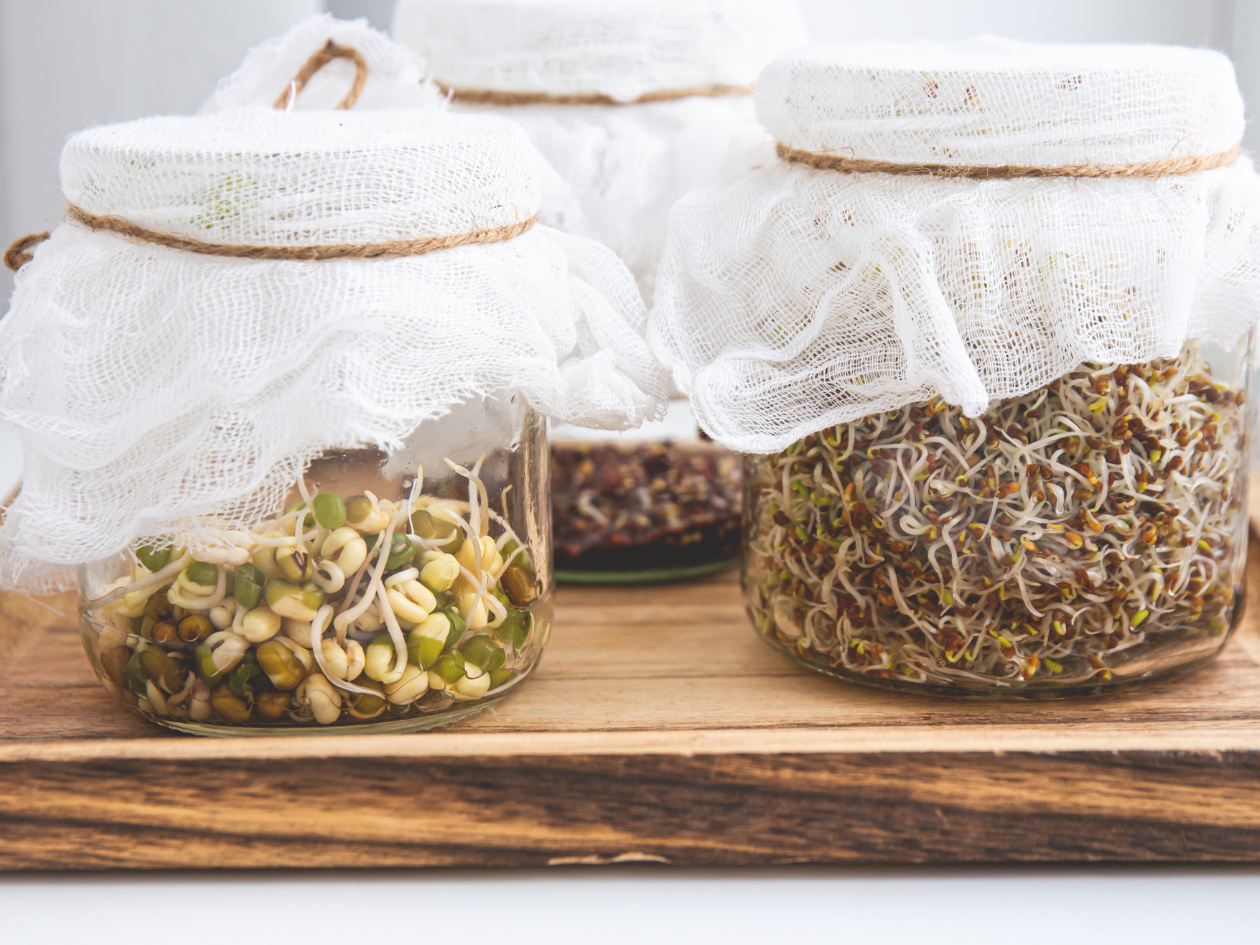
You want a lid that allows air flow, but also doesn’t allow the seeds to escape when you rotate them. I found the simplest, and perfect, wide-mouth jar lids here!
I will always recommend using steel and glass over plastic, but ultimately the choice is yours. Here are the supplies I recommend beginning with:
- One to two tablespoons of seeds; be sure to look for non-GMO, certified organic seeds. If you’re using the quart jar I recommend on my Amazon Storefront, two tablespoons of seeds should get you close to 1/2 or 1 cup of microgreens depending on the seeds you select.
If this is your first time growing microgreens, try starting with 1 tablespoon and increasing the more comfortable you become. - Quart sized glass jar; using glass or plastic allows you to keep an eye on the progress of the seeds, as well as eliminates exposure to different toxins frequently found in plastics. However, it isn’t the end of the world if you prefer to recycle or reuse plastic in your kitchen.
A quart sized jar is perfect for the beginner microgreen grower. - Water source; if you’re growing microgreens from home, you might be tempted to use your tap water, however, research has revealed harmful substances like fluoride and chlorine in city water that has the ability to harm your seeds or stunt their growth.
Personally, I purchase spring water or filtered water from a grocery store. You can also use filtered water from home if you have a filtering system. - A breathable lid; just like any seed, microgreens need airflow to grow properly. Having enough air flow also eliminates the risk of mold developing in such a wet environment. I recommend using these simple, wide-mouth lids!
You could also use a cheese cloth or plastic lid covers like these. - A strainer; you will be draining the water from your seeds frequently. It’s important to strain your seeds and replace the water to eliminate the growth of mold or bad bacteria.
Using lids like the ones I recommend earlier eliminates an extra tool needed to grow microgreens. Those sprouting lids have a steel mesh that allows the water to be strained without losing any microgreens.
If you opt for the cheese cloth, you may also strain through the cloth, however it will likely become more clogged by the seeds and take longer. Using a general kitchen strainer is sufficient for this step (reminder: be sure the holes are small enough that your sprouts don’t run through it).
How To Grow Microgreens IN A JAR: Step by Step
Growing microgreens in a jar is SUPER easy! And you can do it from your own kitchen simply by keeping it in a window somewhere.
- Step One: Place 1 to 2 tablespoons of microgreen seeds in a clean jar of your choice. Add just enough spring or filtered water to cover the seeds or until they are all floating. Allow them to soak over night.
- Step Two: Strain the water from the jar, but keep the seeds safely inside the jar. Rinse and strain the seeds a minimum of two times a day for about three days, or until the sprouts begin to germinate (show green life).
- Step Three: Once you see green on your microgreens, place them in a window somewhere and allow them to develop to your desired size. Note: if they become to large, they may start to become less tender and develop a risk for bad bacteria.
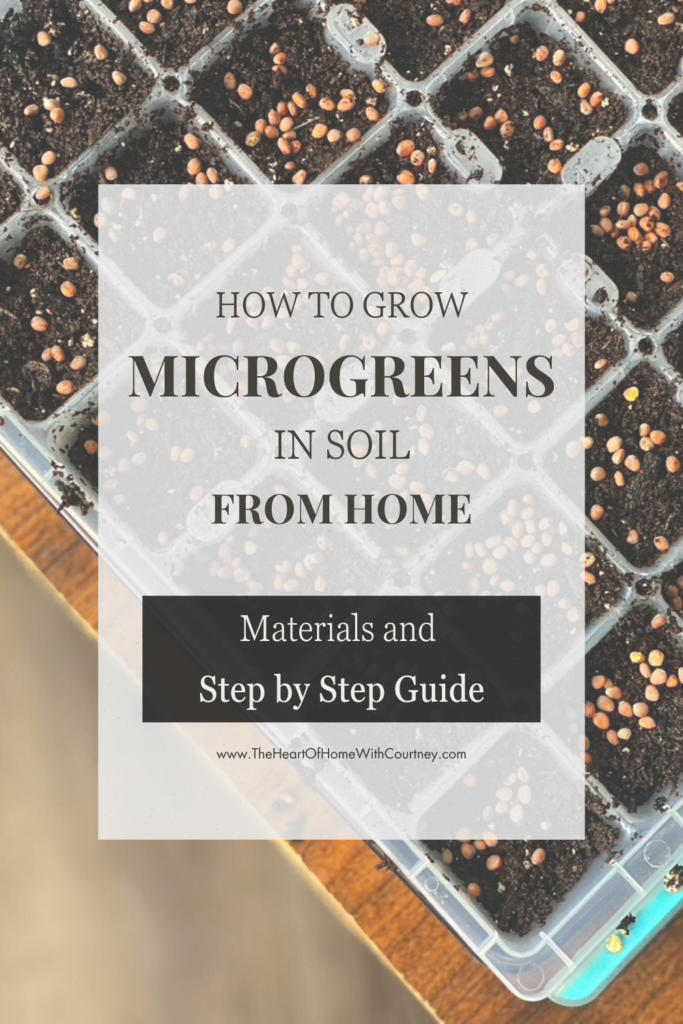
Materials Needed To Grow Microgreens IN SOIL
Growing microgreens in soil is simple. The only disadvantage to growing microgreens in soil as opposed to a glass jar is the risk of dirt on your food. Not a big deal though! Simply cut off what you’d like to eat and rinse under some cold water.
The follow materials will be required to grow microgreens in soil:
- A growing container; the size of the growing container will be determined based off of how many microgreens you’d like to grow. I grow mine in this Burpee seed starting container; simply because it’s what I have in the house. You can also use a microgreen growing tray (they tend to be more shallow because microgreens don’t require much soil or nutrition).
Other items you could grow microgreens in soil in are tupperware containers, egg cartons, a shallow bowl or other seed trays. Remember, it’s a matter of how many seeds you want to start at one time. - Microgreen seeds; be sure to look for non-GMO, certified organic seeds. Personally, I have really enjoyed Organo Republic’s microgreen seed varieties. Plus, they package their seeds anywhere from 20,000 to 220,000 seeds in a package!
You might be wondering how many seeds do I put in my container? Thankfully, there’s a general answer for this (I’m also including a reference table for you):
Large Seeds: 6-8 seeds per square inch
Here are some examples of large microgreen seeds:
– Peas
– Buckwheat
– Sunflower
– Wheatgrass
Small Seeds: 10-12 seeds per square inch
Here are some common examples of small microgreen seeds:
– Arugula
– Cress
– Radish
– Basil - Soil of some sort; microgreens don’t require a ton of nutrition and they’re not heavy feeders because they only grow for a short period of time. I will always recommend organic soil that is free of potential toxins and pesticides, but ultimately the choice is yours.
You can find soil at your local nursery, farm store, large box stores or city yard waste center depending on your location.
You can also create your own soil combination with a variety of different components like perlite, peat moss, coconut coir, organic potting soil and vermiculite. The goal is to create a diverse soil that is well-draining, loose and light. Microgreen seeds aren’t very strong and need an airy soil to grow in! - Water source; if you’re growing microgreens from home, you might be tempted to use your tap water, however, research has revealed harmful substances like fluoride and chlorine in city water that has the ability to harm your seeds or stunt their growth.
I purchase spring or filtered water from a grocery store. You can also use filtered water from home if you have a filtering system.
How To Grow Microgreens IN SOIL: Step by Step
Growing microgreens in soil is incredibly simple. It truly mimics direct sowing a seed into your early summer garden.
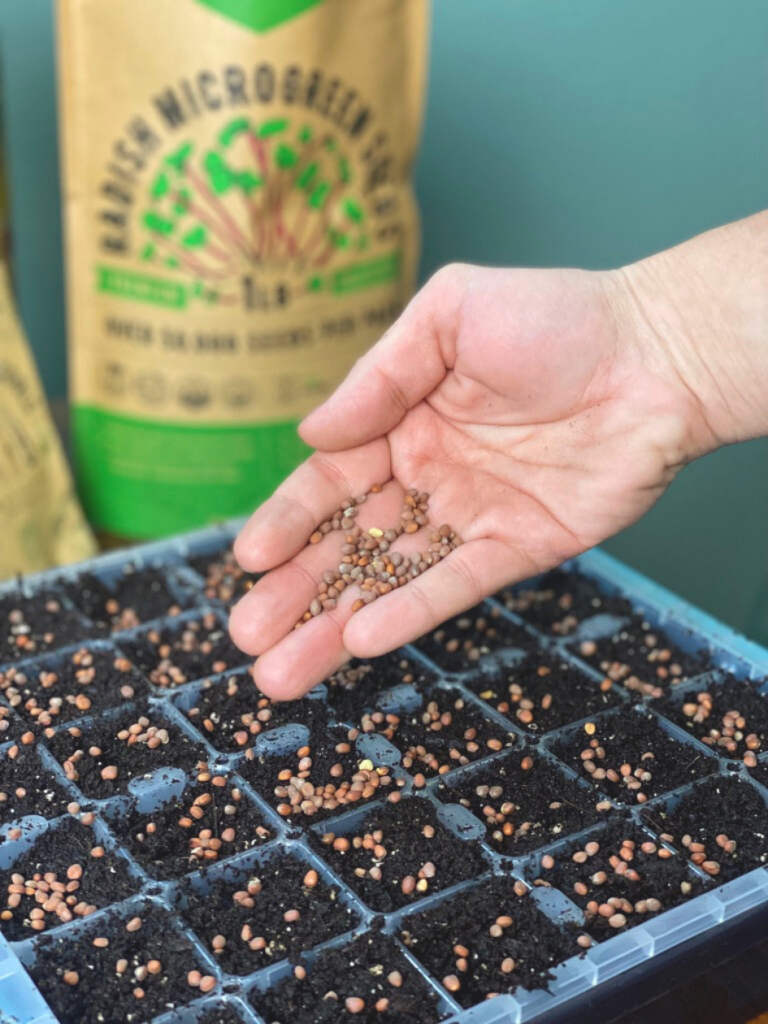
You’ll find success after following these six steps:
- Step One: Soak your seeds in a glass of water for 12-24 hours. This expedites the germination process. After, rinse them in cool water.
- Step Two: Place your already moist soil into the container of your choice. Do not tamp down the soil. It needs to be light and airy for the seeds to break through the surface!
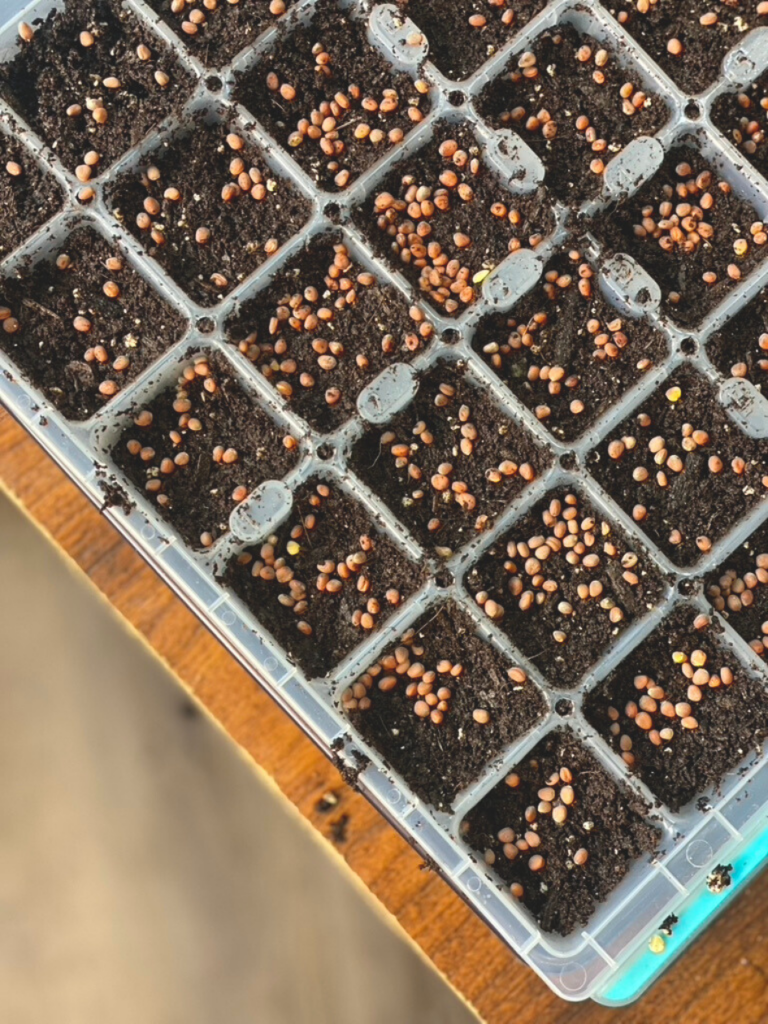
- Step Three: Gently sprinkle your seeds over the surface of the soil and do not cover them. If you selected a large seed (as mentioned above), be sure to “plant” them twice as deep as the seed is wide.
If you’re growing a medium-sized variety, like radish seeds, you may need to add a *very* light covering of soil atop of the scattered seeds. But again, not completely necessary!
After placing seeds, you may need to mist the top of the soil. It’s important to maintain a moist soil texture or the seeds will not germinate. But do not submerge them in a sloppy soil mix. - Step Four: Place the tray in a warm location without any drafts; preferably an environment that is around 70°F. Maintain moisture throughout the next 3-4 days.
- Step Five: Once the seeds germinate and begin to show more green, it’s important they are receiving 8 to 10 hours of sunlight. If you’re growing a variety that has deep red or purple pigments, the more sun exposure they receive, the richer their color; the richer the color, the higher the nutritional value!
- Step Six: Time to harvest! It’s generally recommended to harvest your microgreens when they are 1 to 2 inches tall and have two sets of leaves. However, you can harvest to your liking.
How To Eat Microgreens
Microgreens can be enjoyed in a variety of ways and enhance the flavor and visual image of more recipes than you can list.
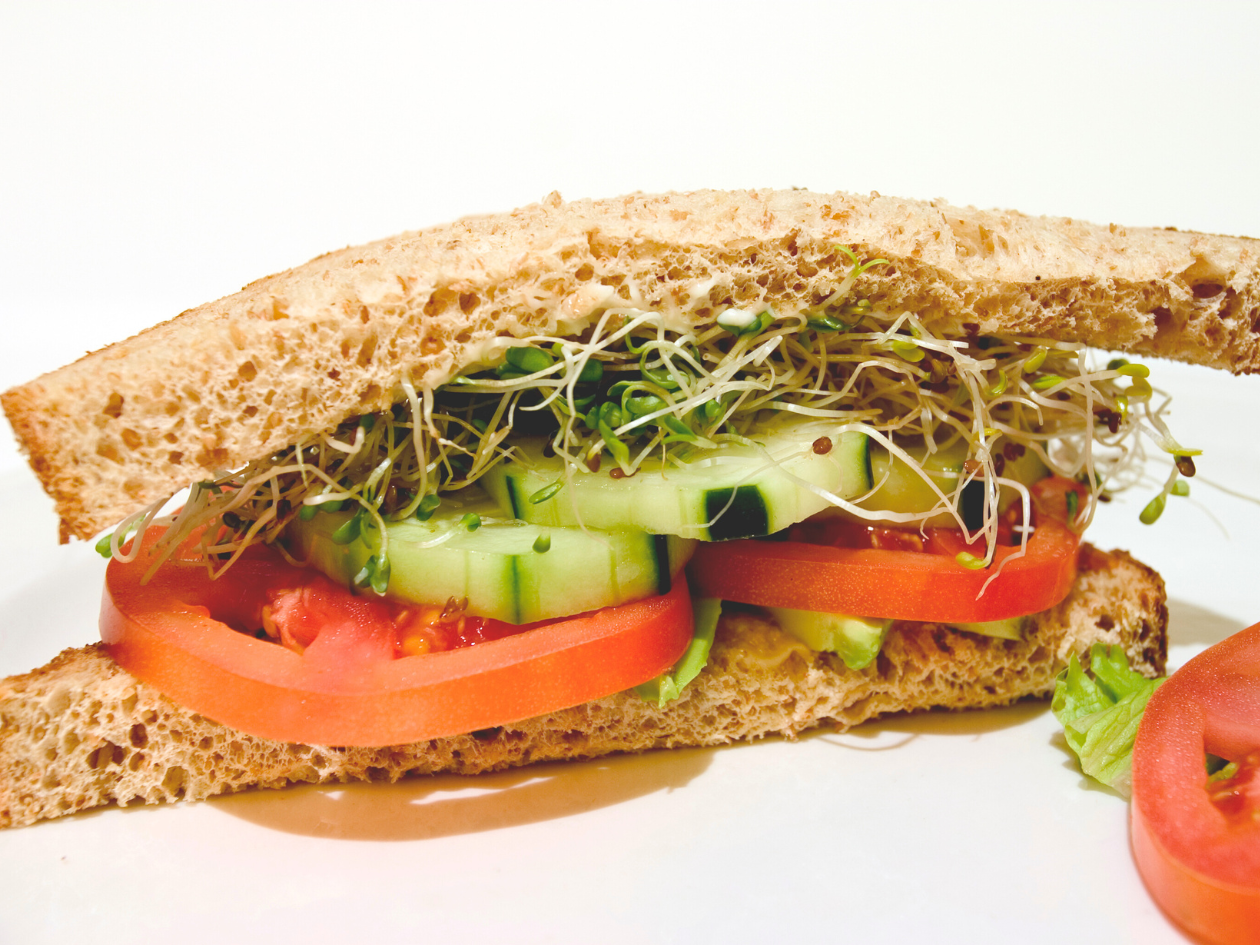
We most often enjoy our microgreens raw on salads, sandwich toppings, garnishes or cocktails. Though they can also be included into purees, pestos, butters, oils, juices or sauces.
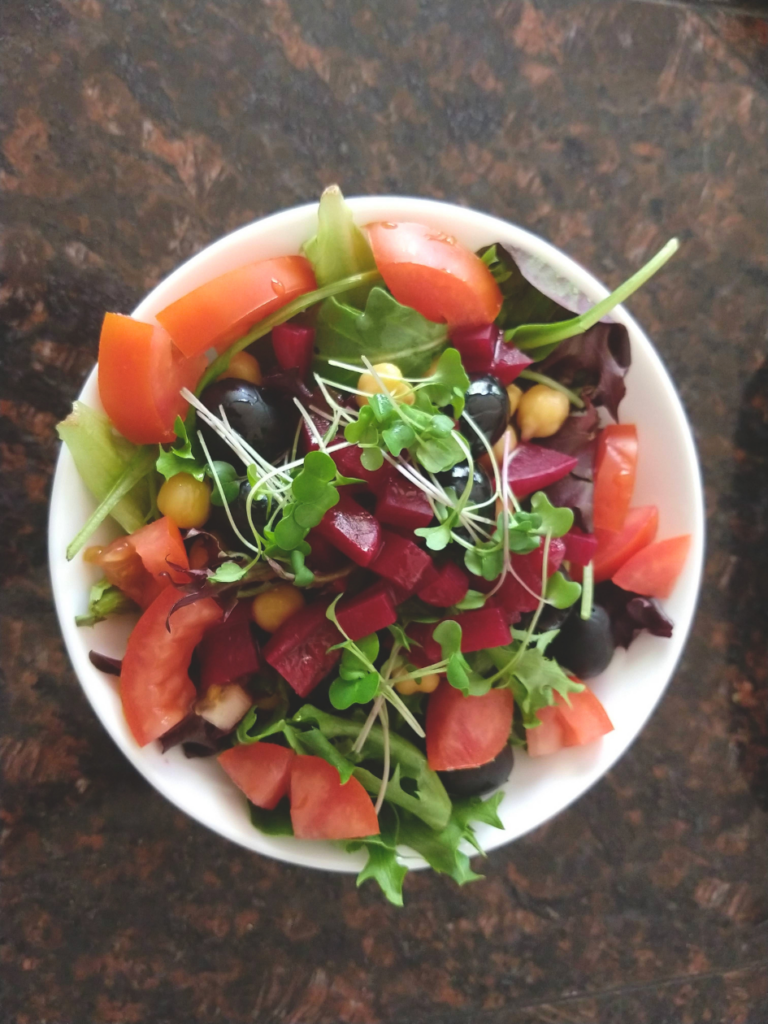
If you’re growing microgreens strictly for the nutritional content, the best way to consume them is raw and immediately after harvesting. The moment a plant is removed from its life source, it begins to compost and lesson in value.
If you decide to harvest a large amount to store, keep them in a well ventilated, cool container in the refrigerator.
Lastly, if you’ve been here a while, you know I like to close the gap however I can. Meaning, I like to get as much out of somewhere as possible instead of completely discarding it. I enjoy feeding the roots of my soil-grown microgreens to my worm farm! You can also just add the soil to a compost and prepare it again for another round of microgreens!
If you found this blog helpful, please share with your friends and family. And if you don’t mind, I’d love to hear your feedback or how this blog enhanced your microgreen-growing experience below in the comments.
Are you ready to venture into the world of sourdough? Check out my post on keeping your sourdough starter from becoming full of bad bacteria and developing mold here!
Happy Gardening!
– Courtney
This post may contain affiliate links. Please read our full disclosure policy here.
- Quick Sourdough Discard Pizza Crust Recipe (no yeast)
- How to make Oregano Infused Olive Oil with Herbs
- One-Pot Cheeseburger Pasta Recipe: Delicious and Easy
- Top 10 Seed Varieties for Your New 2025 Suburban Garden
- How to Start Seeds Indoors: A Beginner’s Guide to Success

Leave a Reply