This post may contain affiliate links. Please read our full disclosure policy here.
Gardening has been a passion of mine for over a decade at this point, but it wasn’t until five years ago that I discovered the power of seed starting.
I loved to garden even from a young age. Growing food from our backyard to enjoy throughout the season was the highlight of every summer! Especially those juicy tomato sandwiches.
I always found something about the garden to enjoy; even if my mother had a back thumb… which is precisely why I took such an interest in the hobby. I wanted to be a successful gardener.
Now, in 2025, seed starting indoors has become entirely more popular. Thanks to “you-know-what”-vid, our society has come face to face with a harsh reality: food isn’t guaranteed.
Especially when provided by people who don’t even know your name. Don’t get me started on that topic!
It was during those, let’s just say, terrifying, years that as a young mother I knew I wanted to become more sustainable for my family. I didn’t want empty shelves and panic to decide what or when my family was going to eat.
We were married only shy of two years and with our first child. My husband was (and still is) active duty and I was fortunate enough to stay at home. That meant – we were always broke.
Growing a garden that was full of unique, nutritious foods just simply wasn’t an option. We couldn’t afford it!
Until…
I discovered seed starting indoors.
- Why Start Seeds Indoors?
- Why Seed Starting Indoors is a Sustainable Choice
- The Benefits of Starting Seeds Indoors
- Does Seed Starting Extend Your Growing Season?
- Essential Tools for Seed Starting Indoors
- #1 CONTAINERS AND POTS
- #2 POTTING SOIL
- #3 GROWING LIGHTS AND LIGHTING SYSTEM
- Step By Step Guide on Starting Seeds Indoors
- What is “Hardening Off Your Seedlings”?
- Is Seed Starting Difficult?
Why Start Seeds Indoors?
All I watched countless YouTube videos when I decided to take on starting seeds indoors. I mean, I went to school for music, not anything agriculture related. I was clueless other than the fact of knowing a garden was a good idea and produced the tastiest, most wholesome foods.
To be honest, I have learned more in my early years starting than I thought possible. That’s exactly why I’m writing this blog: for you.
I have personally experienced the benefits of seed starting indoors: saving money; lessoning my carbon footprint; freedom to grow the food I couldn’t afford from the nursery or grocery store, and not to mention the health benefits of growing something without pesticides or other toxic, cancer-causing chemicals!
Did you know you can grow food year round, even if you live in zone 5 (Iowa) like me? Yeah… I had no idea. No one taught me. I thought gardening was just a summer hobby.
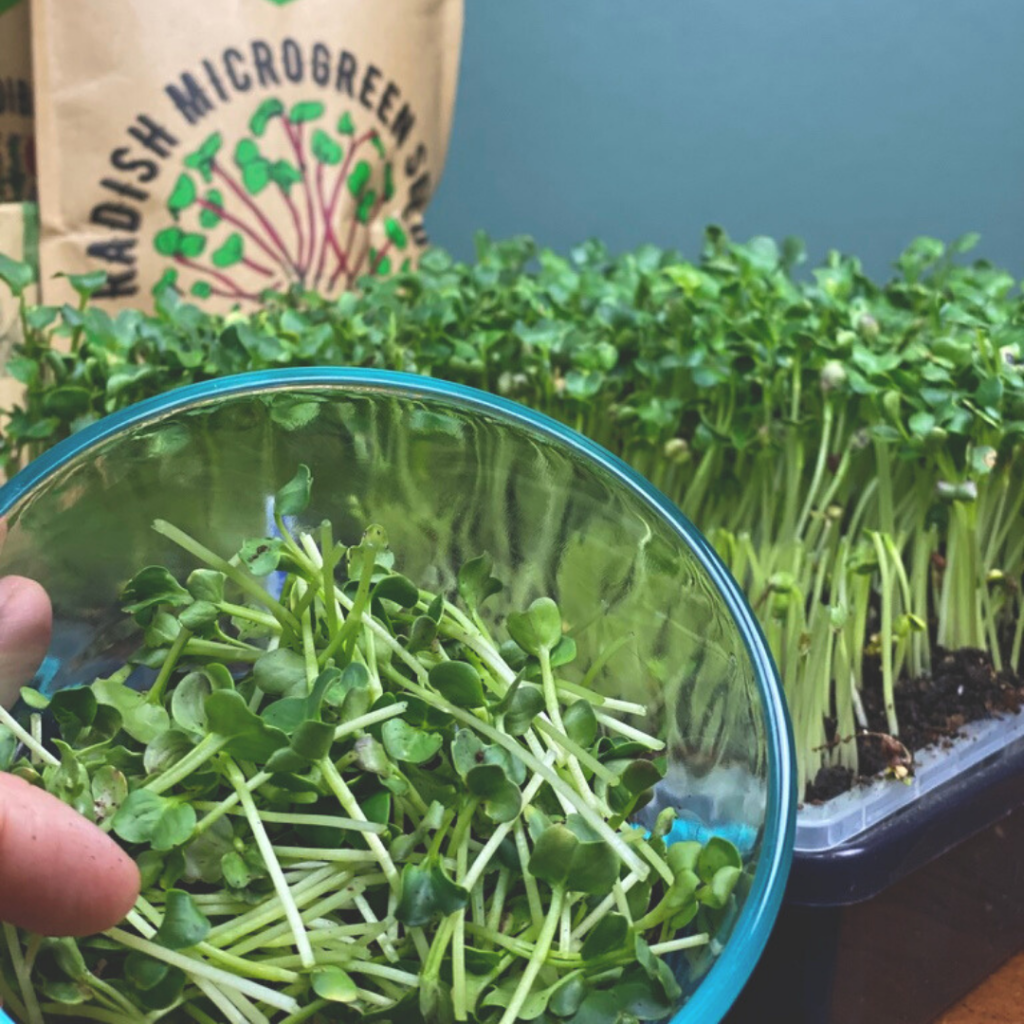
→ Check out my blog, “Microgreens: How To Grow, Health Benefits and More!” to learn how to grow food year round, no matter how cold it gets!
Why Seed Starting Indoors is a Sustainable Choice
Indoor seed starting has become more than a “hobby” to me. It’s become a way of life; a process of our home’s sustainability. It has freed me, and helped me save (and make!!) a few dollars.
Isn’t that a win!
This lifestyle has healed parts of my physical body, as well as mental. This “hobby” has become therapeutic and a great source to relieve my stress. The wholesome foods I grow are packed with their true potential when it comes to health benefits.
You may not have know this but…
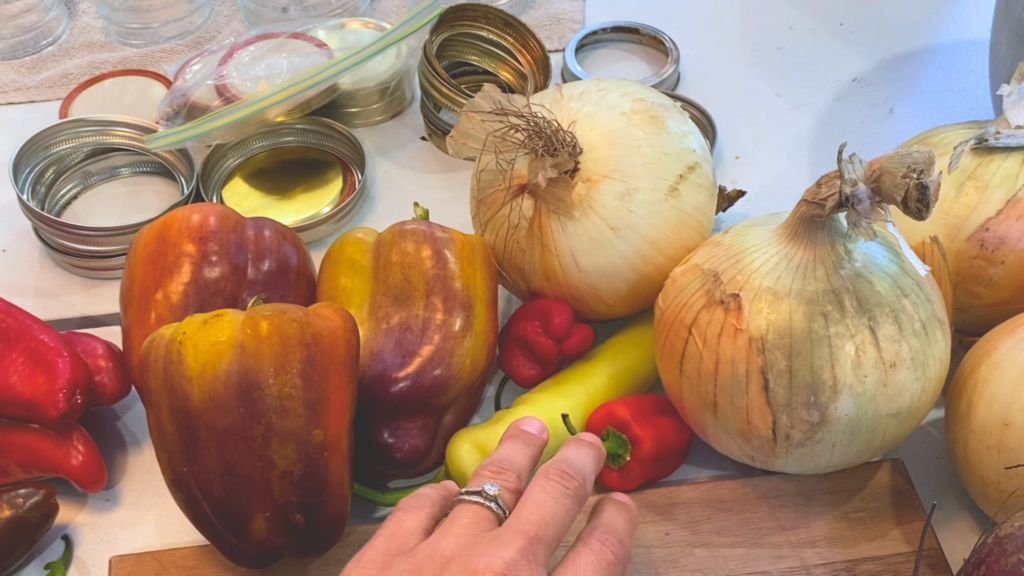
Most produce from the grocery store is MONTHS old. Meaning, from the moment it was harvested, the nutritional content of that produce has declined. AND it was likely harvested before it was fully grown simply so it could be packaged and shipped (which takes time) before being handled and purchased in your little grocery store.
I’m telling you… you need to garden.
And you should be starting your seeds from home.
The Benefits of Starting Seeds Indoors
I could go on and on about the benefits of seed starting, but let me just give it to you strait: it’s cheaper, it extends the growing season and it’s better for the environment.
The average price of one tomato plant costs anywhere from $3 to $5 from a local store. Depending on the variety of course, that tomato plant may produce 15 to 25 tomatoes (if taken care of properly).
Might sound like a great deal, right? Twenty tomatoes for the price of, let’s say, $4??
But the average price of one tomato seed packet ranges anywhere from $1.50 to $3 and contain 25 to 100 seeds (or more depending on where you buy from). If even 50 of those seeds produced a healthy tomato plant, using the same average from above, those plants have the possibility of producing 1,000 tomatoes (50 healthy tomato plants producing 20 tomatoes each equals 1,000 tomatoes). All for THREE DOLLARS.
Seed starting is simply more cost efficient. It doesn’t matter how experienced of a gardener you may be. Those are just the facts.
Seed packets cost a fraction of what you would be spending if you bought every plant from a nursery or local box store.
Does Seed Starting Extend Your Growing Season?
Another great benefit of seed starting indoors, especially for us northern folk, is that it elongates our growing season!
If those living in zone 5 and up direct sowed (meaning: planting the seed directly into the garden soil) something like a pepper in July when all threats of frost and cooler weather were gone, we’d be taking the risk of never actually getting to harvest them at their full potential.
Why?
Because something like a pepper needs anywhere from 60-90 days depending on the variety to become harvest-able. Especially varieties like bell peppers that require more sunlight to allow their anthocyanins to do their job (the pigments that give them their unique colors).
Starting seeds indoors allows us northern gardeners to get a jump start on the growing season.
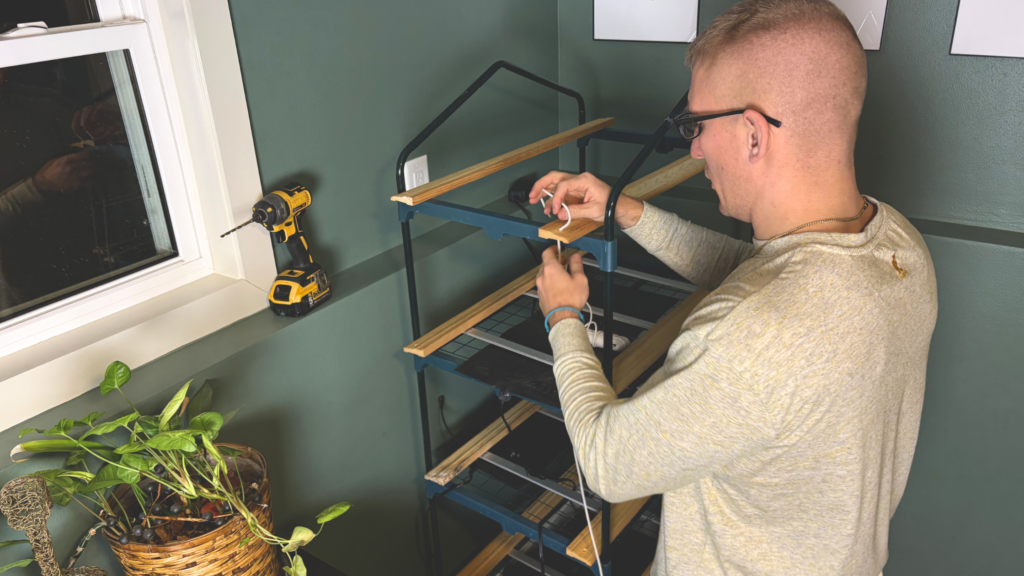
Not only does it control the length of the growing season, but it also gives the gardener control on the growing environment. Using tools like grow lights, heat mats and humidity domes, each gardener is able to create an ecosystem suitable for each plant variety.
All of which only increases your germinate rate (how many seeds sprout out of how many you planted).
Essential Tools for Seed Starting Indoors
Starting seeds indoors is undeniably cheaper than buying all of your plant starts outright. However, it does come with start-up costs just like any hobby.
The beauty of it? There’s a range of options for you. You can create the most intense, expensive set-up out there, or you can create the cheapest set up, made with supplies in your own home – and still find success.
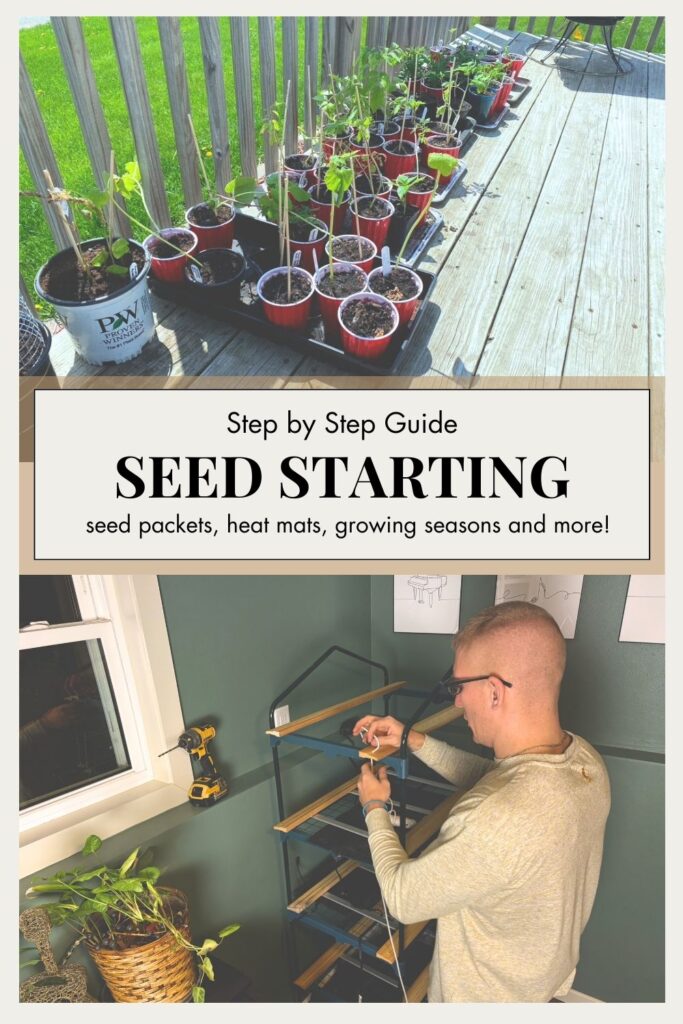
My first several years of seed starting looked like Burpee’s organic seeds from a local farm store, red solo cups and aluminum baking sheets.
You know what’s more embarrassing? I researched seed germination so much that I genuinely thought I had to start all of my seeds in zip lock bags with wet paper towels, then transfer them to soil in my party cups (woop-woop!).
I was wrong.
While it was fascinating to watch each seed develop (or not), I later discovered that testing the germination rate of seeds is not necessary, especially if they were recently purchased.
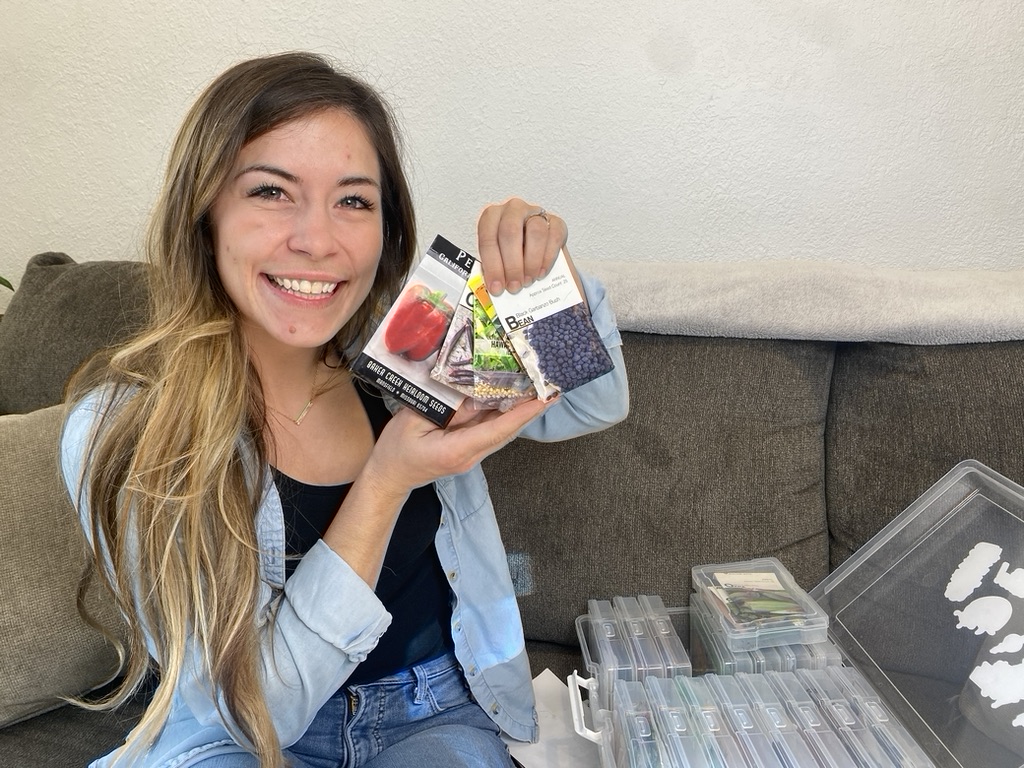
QUICK FACT:
Seeds do not expire.
Expiration dates are required by the Federal Seed Act to reveal how long ago seeds were certified to meet the required germination standards in order to be sold.
(I talk more on this below)
The best seed starting tools are the ones that get you started. I will share a variety of different products with you that both the beginner and the experienced gardener can choose from.
With that, let’s discuss why you need them in order to be successful.
#1 SEED STARTING INDOORS: CONTAINERS AND POTS
Determining what container or pot to start your seeds in can feel overwhelming.
Will my plant outgrow this container?
Is there enough room for the root system to develop?
Do I have to worry about transplanting these seedlings?
Can this plant mature in this pot until hardening off?
There are just too many angles to take on this for there to be one, perfect answer. Maybe that’s good news for you! Seed starting is full of options and lots of grace.
I recommend researching the plant you’re wanting to start indoors. If it doesn’t like to be transplanted (I.e. it doesn’t like it’s root system disturbed; such as carrots, onions, cucumbers, melons, squash, etc.) then perhaps you should consider a larger container from the beginning or an organic coco coir growing pot like this that can decompose into the soil with your seedling!
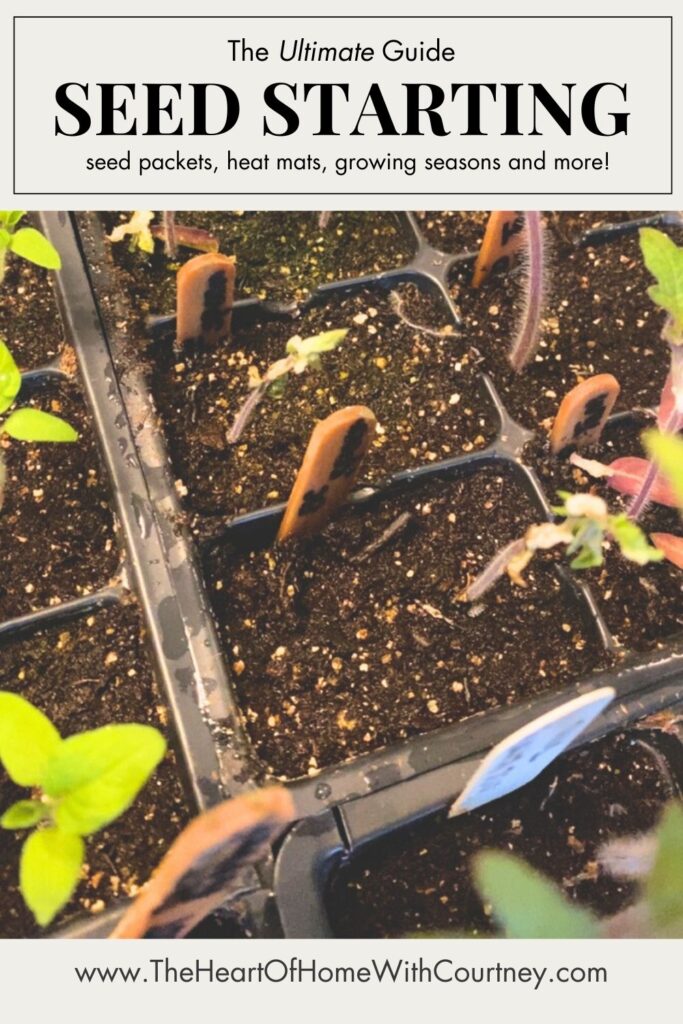
If you opt for a seed tray like this one you’ll benefit from starting a larger amount of seeds per square inch. However, you will likely have to transplant them into a larger starter pot like this 2.5″ one!
You can also approach this part of seed starting by up-cycling old containers from items like cottage cheese, sour cream, salsa, etc. and using them as growing pots. This is how I started! As well as using those red solo cups I mentioned earlier.
Lastly, if you’re feeling quite adventurous, as well as confident, you might try soil blocking. Soil blocking is a technique that completely eliminates the use of any container, other than a bottom tray, using this device. Paired together with quality soil, soil blocks can be of great use for a gardener willing to keep a close eye on the blocks while the seeds develop!
You don’t need fancy supplies to be successful with seed starting. The plants will not be partial to the more expensive seed trays or tools.
#2 SEED STARTING INDOORS: POTTING SOIL
If there’s one thing that overwhelmed me in this process, it was trying to pinpoint the perfect soil for my seedlings. I had no idea there were so many different “types” of soil. Did you?
I walked through nursery’s just completely clueless of what soil would be best for my seedlings. Each bag advertised a different benefit that seemed to out-perform the bag next to it.
Most seed starting mixes contain a combination of the following ingredients:
– Peat moss (retains moisture; improves drainage; reduces pH)
– Vermiculite (helps aerate; neutralizes pH; retains moisture)
– Perlite (creates air pockets; improves drainage; helps aerate soil)
– Mycorrhizae (makes nutrients more available; improves soil structure)
– Coco Coir (nutrient-rich; speeds up composting process; water retention)
– Compost (adds nutrients; improves soil quality; recycles organic matter)
– Fertilizer (includes kelp meal or worm castings in small amounts)
– Lime (neutralizes acidic soil; can increase fertilizer efficiency)
The easiest way to get started with a nutrient-dense soil for your seeds is to find an organic seed starting mix from the store. I don’t believe it’s entirely necessary to create your own soil, unless you find better results with a certain combination of materials listed above.
The reality is many companies have done the hard work for you.
(By the way, some of the links in this article are Amazon affiliate links, which means I receive a small commission at no extra cost to you if you click on the link and purchase the item. Thank you for supporting our family!)
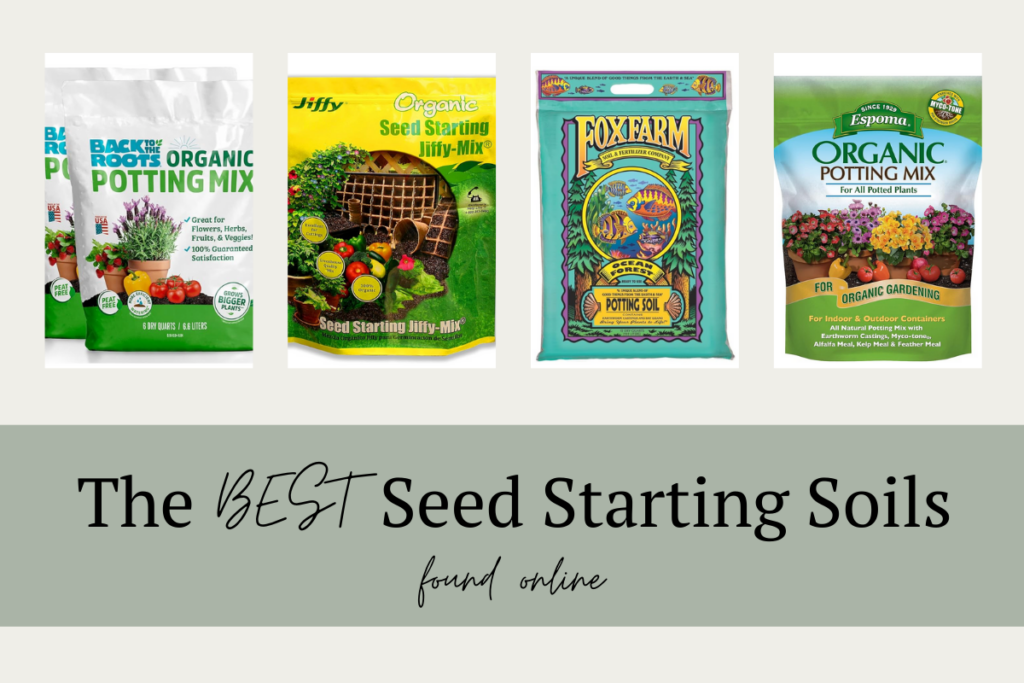
Here are some of my favorite soils that I have found success with:
→ Espoma Organic Seed Starter Premium Potting Soil Mix (8qt bag, $13.58)
→ FoxFarm Ocean Forest Potting Soil (12qt bag, $21.33)
→ Back to the Roots 100% Organic Potting Mix (12qt quantity, $16.99)
If you prefer to support local, find a nearby gardening center (or box store if that’s your only option). Be sure to look for the OMRI badge, as it confirms the soil has been reviewed and found acceptable to be considered organic.
#3 SEED STARTING INDOORS: GROWING LIGHTS AND LIGHTING SYSTEM
It’s crucial for seedlings to receive ample amounts of light during their developing process.
Recently sowed seeds that haven’t broke through the soil don’t exactly need light – yet. But once you notice the seedlings breaking through the surface, it’s time to get the light on them to source enough energy in order for them to continue to grow (photosynthesis).
How much light do seedlings need?
Seedlings need more light than a mature plant. On average, seedlings need 14-16 hours of light daily. They also need a closer proximity to the light source when starting them indoors. I always recommend to keep your light source 1″ from the tallest seedling on the tray.
What kind of lights do seedlings need?
For years, gardeners used fluorescent lights. Now it’s more common to find LED lights being used in seed starting setups. LED lights are more expensive but energy-efficient and longer lasting. As long as your light is 3,000 to 5,000 lumens, it should be efficient.
If your budget allows, there are specific “grow lights” that have been developed – like these Barrina T5 Grow Lights. Grow lights are just more adjustable when it comes to plant light absorption.
- SEED STARTING INDOORS: HEATING MATS
Starting seeds isn’t partial to the heated green house or spare bedroom. Many gardeners find an available corner in their home, or basement, and create an environment conducive to starting seeds.
A crucial part of the perfect seed starting setup is temperature control. This can be done with tools like these heating mats found on Amazon.
Heating pads will raise the temperature 10°F to 20°F. Keep in mind that most seeds germinate in soil temperatures between 68°F and 86°F.
Personally, I use those exact heating mats for the germination process alone. The room we keep our portable green house in maintains a temperature of 70°F and I’ve never had a problem with it being too cool for the plants to continue growing. - SEED STARTING INDOORS: WATERING SYSTEM
I think this is obvious, but water is necessary to grow any seed! Water is the exact element that “wakes” seeds up, bringing them out of their dormancy stage.
It’s important to note that, just like humans, too much water can kill a seedling. A sopping mess can literally drown out your seedlings, and create an environment at risk for disease to settle in.
Before sowing seeds into your soil, be sure to wet the soil just enough that it’s the consistency of a rung out sponge. The only time you want the soil to drip water when squeezed in your hand is if you’re going to attempt soil blocks. Otherwise, dripping is too wet.
What happens if my seeds dry out?
Many first time (and experienced) gardeners over water their seedlings. This doesn’t necessarily mean all hope is lost, but it’s actually okay for your seedlings’ soil to dry out partially now and then.
This drying process is eliminating the risk of disease, and trust me… you don’t want disease settling into such a confined space. That’s just an easy way to kiss all of your seedlings goodbye!
The germination process requires a consistent amount of moisture. But once the seedlings break through the surface, it’s okay to let the soil come close to drying out. This also builds resiliency in the plant and prepares it for “the real world”.
What should I water my seedlings with?
I have found these spray bottles to be the best watering medium in the beginning. Pouring water directly into the soil might disrupt the placement of your seeds.
Once the seeds break the surface and show more strong development, I swap to this metal watering can that has a “shower” head on the end. This keeps the water from displacing the soil and disturbing the seedling.
Finally, once the seedling has developed true leaves (second set of leaves) and a strong root system, I do what’s called “bottom watering” which is when water is poured directly into the bottom tray of your seeds (don’t forget you can just use a baking pan!) and the roots absorb the water as needed. I continue to mist the top of the surface to maintain some level of moisture.
I have also found it helpful to use humidity domes. These magical little green house-mimickers have helped me return so much moisture and heat. It’s like a little rainforest for your seedlings!
Step By Step Guide on Starting Seeds Indoors
Let me preface this by saying there isn’t just one way to do this. Seed starting indoors is as complex or simple as you make it. So what I want to do is share with what I’ve learned and our current seed starting routine.
STEP ONE: Order Seeds
I like to order my seeds from a USA based, trustworthy source online sometime in December. It’s important to me that the seeds are heirloom and have a high germination rate (85% or higher).
(By the way, some of the links in this article are Amazon affiliate links, which means I receive a small commission at no extra cost to you if you click on the link and purchase the item. Thank you for supporting our family!)
Companies that I have loved and trust are:
→ Johnny’s Seeds
→ Baker Creek Rare Seeds
→ Organo Republic
→ MIGardener
→ Burpee’s Organics
→ Sow Right Seeds
→ Sunflower Steve Seed Co.
→ GreenStalk Garden Seeds
Seeds do not expire. Do not give in to the pressure of discarding your seeds because they’ve passed the sell by date on the back.
The reason seed packets have “expiration” dates is because of the Federal Seed Act which required seed companies to reveal how long ago seeds were certified to meet the required germination standards in order to be sold.
The seeds won’t “go bad” but they will lessen in their germination rates. However, if you store your seeds in a DRY and COOL environment, they will last for years. You may also store them in the freezer! Just be sure they’re in a freezer safe container to remove the risk of moisture developing.
STEP TWO: Create Your Seed Starting Setup
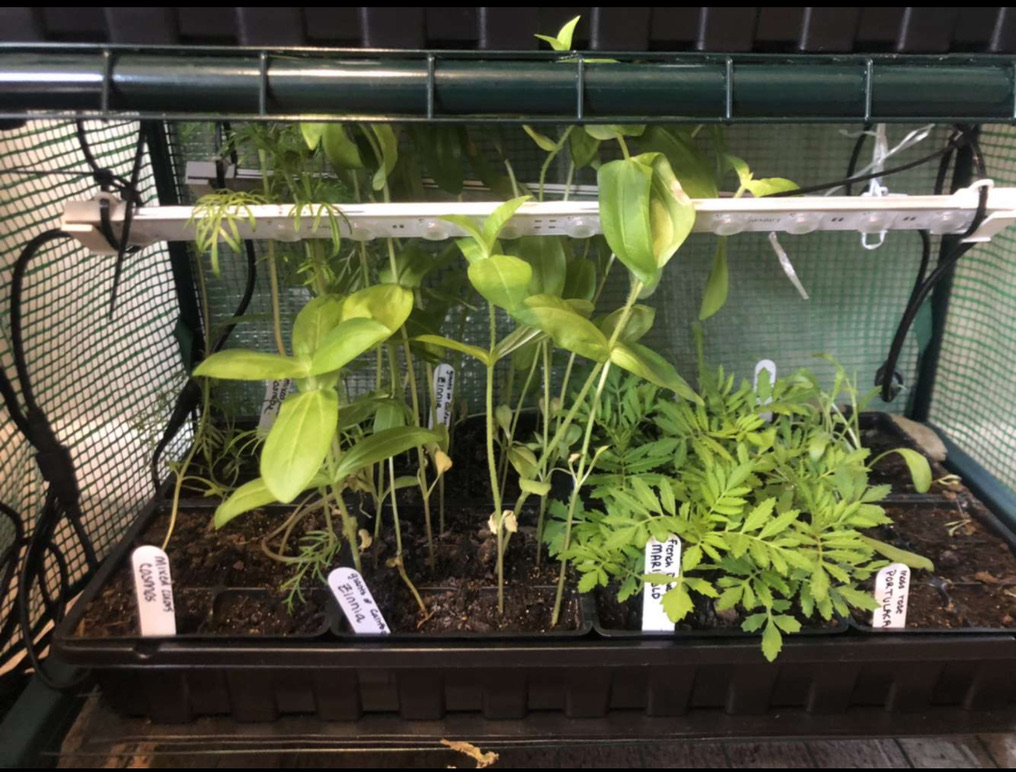
I said it before and I’ll say it again: there isn’t one way to do this. The biggest things to remember when creating your seed starting setup is it needs to provide your seedlings the basics: consistent light, heat and moisture.
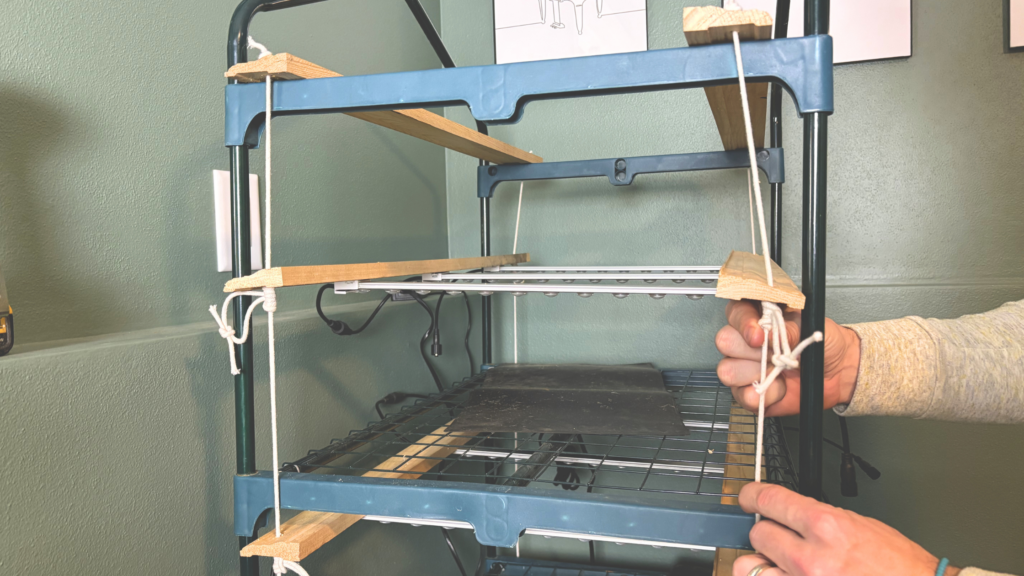
Whether your find an old shelving unit or purchase a new portable green house, what’s important is that your seed trays fit safely and with ample space (air flow is key to avoiding disease and growing strong seedlings) wherever you have them placed.
If you station your seeds next to a sunny window, the natural light will do just fine. You will likely run into leggy seedlings unless they’re receiving light from each direction. To avoid this, continue to rotate your trays. Personally, I recommend purchasing an artificial light of some sort (LED lights, shop lights, fluorescent lights, grow lights).
Other than location, space and light you need to collect all of the necessary tools at this point. Gather the organic garden soil, seed trays, humidity domes, heating mats and spray bottles.
(If you skipped the information above, I shared in depth about all of these supplies ^ )
STEP THREE: Sowing Your Seeds
If you googled “when to start seeds” I’m sure you found a plethora of advice; some good and some probably bad. If you didn’t know, each gardener is located in a specific growing zone which essentially determines how long of a growing season you have.
For us, in growing zone 5a/b, we have a medium growing length. Typically between May 15th and October 15th (approx. 153 growing days). That being said, the start date for planting our seedlings outdoors is significantly different than someone in growing zone 8a/b (approx. 240 growing days).
The seed starting timeline for someone in Florida will be significantly sooner than someone, like me, growing in Iowa. Our growing zones are drastically different.
This is why it’s important to know to start your seeds based off of your estimated last frost date. You can find that by searching your closest city here.
It’s also important to note that not all seeds get started at once. This might be a sigh of relief for you, or more stressful.
Plants like onions, artichokes or leeks need started 8 to 10 weeks prior to your last frost date. Meanwhile, plants like peppers and squash, beans and corn need started 2 to 4 weeks prior to your last frost date.
I’ve been working on an inventory of my current seeds (Yikes! So many!) with all of this information found in one place. I’m happy to share it with you as well! Be sure to download it as I’ll continue to make adjustments during my own seed starting process. If anything, it might encourage you to make your own!
Seed Sowing Tip:
Don’t confuse yourself with trying to understand how deep to plant a seed. Sure, the information is listed on the back of the packet. But the secret is this:
Twice as deep as the seed is wide.
It never fails.
STEP FOUR: Seedling Maintenance
Seedlings are quite resilient and want to grow, which makes seed starting easy. Unfortunately it’s not completely hands off. It does take some tending throughout the weeks or months you might be seed starting indoors.
The biggest factors to remember: your seeds need consistent heat, 14-16 hours of appropriate light and an regulated amount of moisture.
What is “Hardening Off Your Seedlings”?
Once your seeds are ready to be transplanted outdoors, there is a process called “hardening off” that plants need to go through in order to avoid UV or wind shock and knocking on death’s door. That’s a whole process to worry about when the time comes. Just know that it is necessary.
I will cover this topic more in depth in a coming blog post.
But do not be intimidated. Hardening off is a necessary process that, when done correctly, allows your seedlings that grew in a controlled environment to enter into a somewhat “uncontrollable” environment successfully.
Is Seed Starting Difficult?
Seed starting is not rocket science.
Seeds want to grow which automatically makes this skill much easier! Is it possible to fail? Absolutely, but you’re going to have a higher success rate than fail rate.
And the best thing about seed starting is it’s growing more than seeds; it’s developing you, the Gardener.
So give yourself lots of grace. You deserve it. Enjoy the process and be willing to learn from your mistakes.
Finding trusted seed brands can be overwhelming and difficult. Organo Republic is one brand I have learned to trust throughout the last four years. Check out this video where I go in depth on explaining what makes them one of my TOP American Seed Companies to buy from every year!
Happy Gardening!
– Courtney
This post may contain affiliate links. Please read our full disclosure policy here.

Leave a Reply